The sample and slide preparation are a crucial step for histological or cytological observation. It is essential to highlight what needs to be observed and to fix the sample at a specific point in time so that it has characteristics close to its living state.
Have you ever wondered how the histology techs prepare histology slides? Read on for the five important stages in histology slide production.
The Five Steps of Histology Slide Preparation
Fixation
Fixation is carried out immediately after sample removal. It is used to preserve sample permanently in as life-like a state as possible. It can be performed using a fixative solution or by freezing:
Fixation in a fixative solution is performed by immersing the biological material in a formalin solution.
Fixation by freezing involves immersing the sample in a tissue freezing medium followed cooling in liquid nitrogen.
Embedding
Embedding is a step that follows fixation. It involves hardening the sample in paraffin embedding medium so that it can be sectioned.
It is necessary to dehydrate the sample beforehand by replacing the water molecules in the sample with ethanol. As ethanol and paraffin are also immiscible, an intermediate "clearing" agent that is miscible with paraffin is also required. After the clearing step, immerse the samples in a paraffin bath. The tissue becomes surrounded by a large block of molten paraffin wax, forming what is now known as the "block". Once the block solidifies, it provides a support matrix that allows for very thin sectioning.
Sectioning
Sectioning is an important step for the preparation of slides as it ensures proper observation of the sample by microscopy. Two ways of sectioning are microtomy and cryotomy.
Paraffin-embedded samples are cut by cross section into thin slices of 5 micrometers. Glass slides are covered with a solution containing additives to keep the section attached onto the slide.
Frozen samples are cut using a cryostat. The frozen sections are then placed on a glass slide and stored at -80°C.
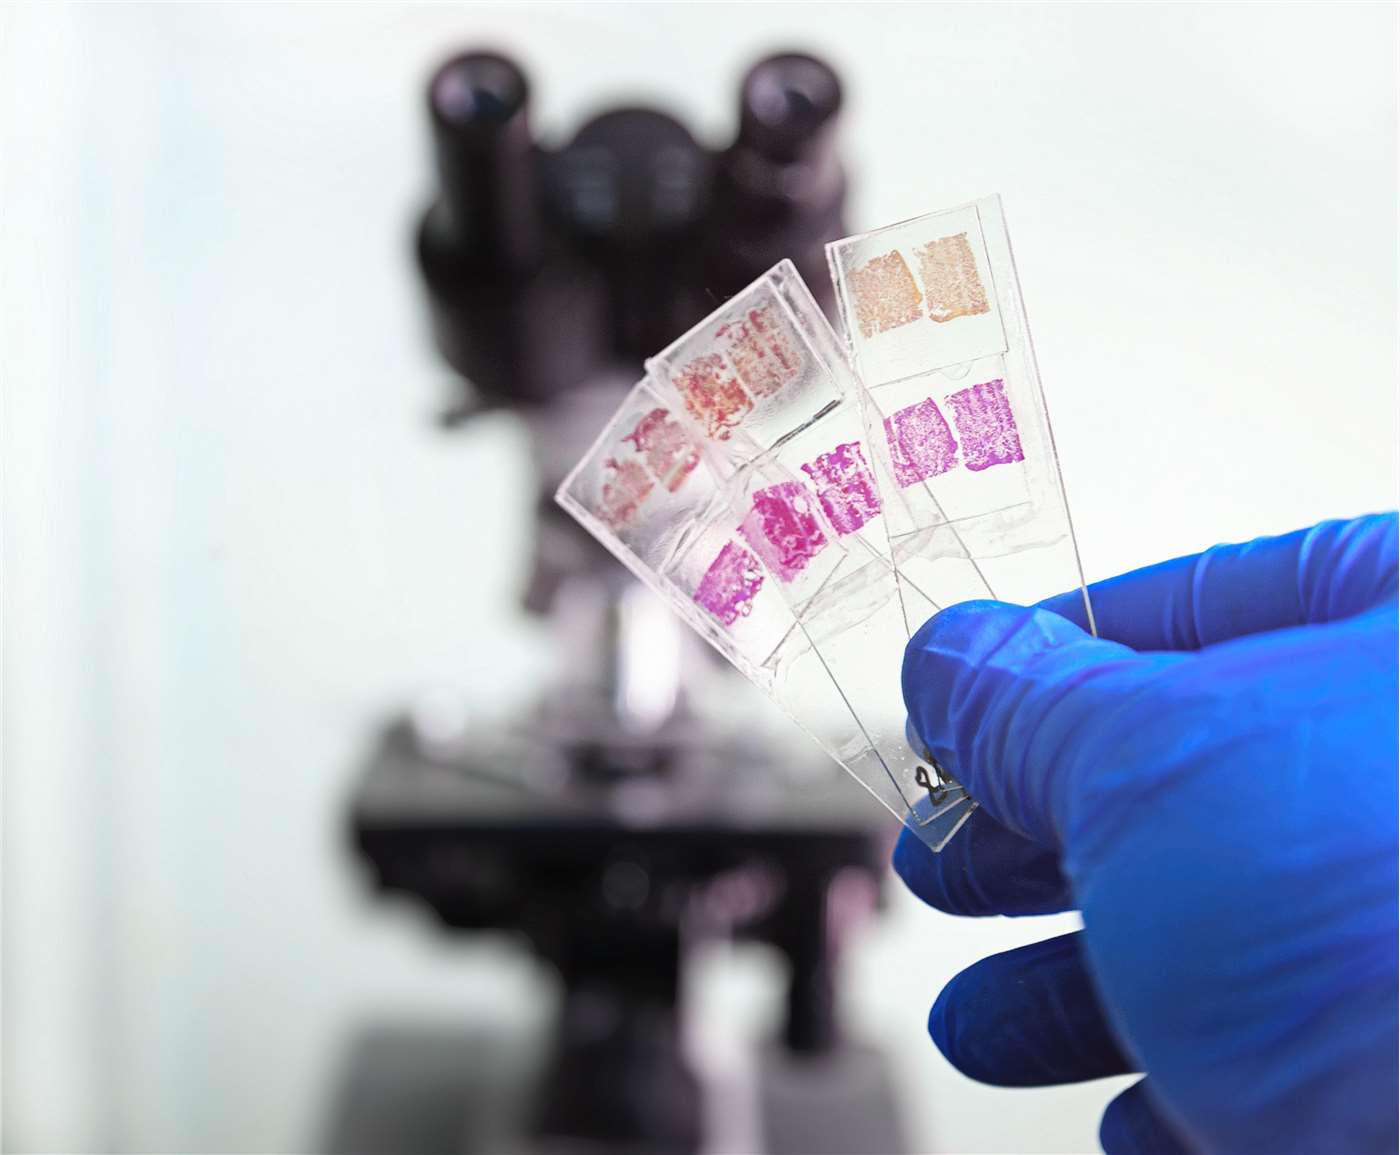
Staining
Most cells are transparent and appear almost colorless when unstained. Histochemical stains are used to provide contrast to tissue sections, making tissue structures more visible and easier to evaluate. Once staining is completed, the slide is rinsed and dehydrated for the mounting step.
Mounting
Following staining, a coverslip is mounted over the tissue specimen on the slide, using optical grade glue, to help protect the specimen. For fluorescence microscopy observations, mounting medium is used to temporarily decrease the fluorescence loss.